Organizing a coffee cupping with friends and family can be the perfect way to start learning more about coffee while having fun at the same time (and drinking a lot of coffee, of course).
BY TANYA NANETTI
SENIOR ONLINE CORRESPONDENT
Cover photo by Tanya Nanetti
Thanks to its easy and repeatable procedure, cupping at home is a great way to try new coffees and compare them, start recognizing new flavors and new characteristics, and delve into the marvelously complex world of coffee.
You don’t need many tools to organize a cupping; if you’re already a coffee brewer, you probably have a lot of them on hand!
What You’ll Need
- A kettle (if you have one with temperature control, even better)
- A scale
- A coffee grinder
- Cups or bowls (as many as there are coffees to try, all of the same size and shape, about 200/220ml)
- Spoons (one per person)
- A timer
- Two or three glasses full of hot water (to rinse the spoons)
- Some spitting cups
- Drinking water and cups
- Flavor wheel (optional)
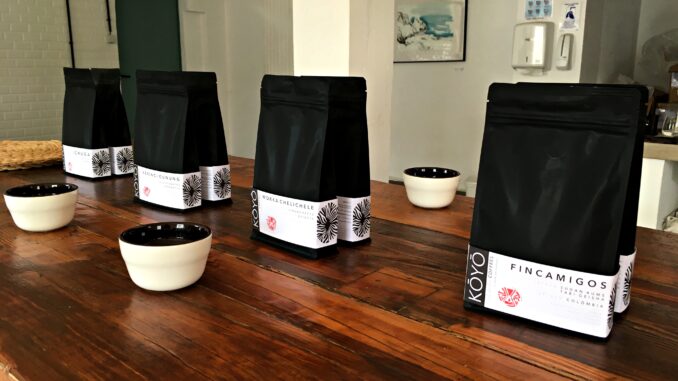
- Coffee, as many bags as you want to try—about five to seven coffees from different origins, possibly processed differently, is a good starting point
Getting Started
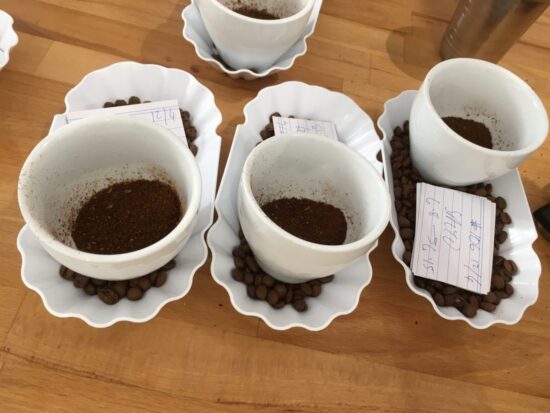
Begin by preparing in a straight line as many cups as you want to use for cupping, one for each coffee. Label the bottom to be sure that if something happens and the cups get mixed up, you will still know which coffee was in which cup.
Grind the coffees slightly coarser than your classic pourover size (around 25 clicks on the Comandante should be fine), put each coffee in its own cup, and smell.
Meanwhile, heat the water. If your kettle has temperature control, 92°C (198°F) is perfect. Otherwise, let the water boil and then wait two minutes before pouring it to let it cool down a bit.
Pouring
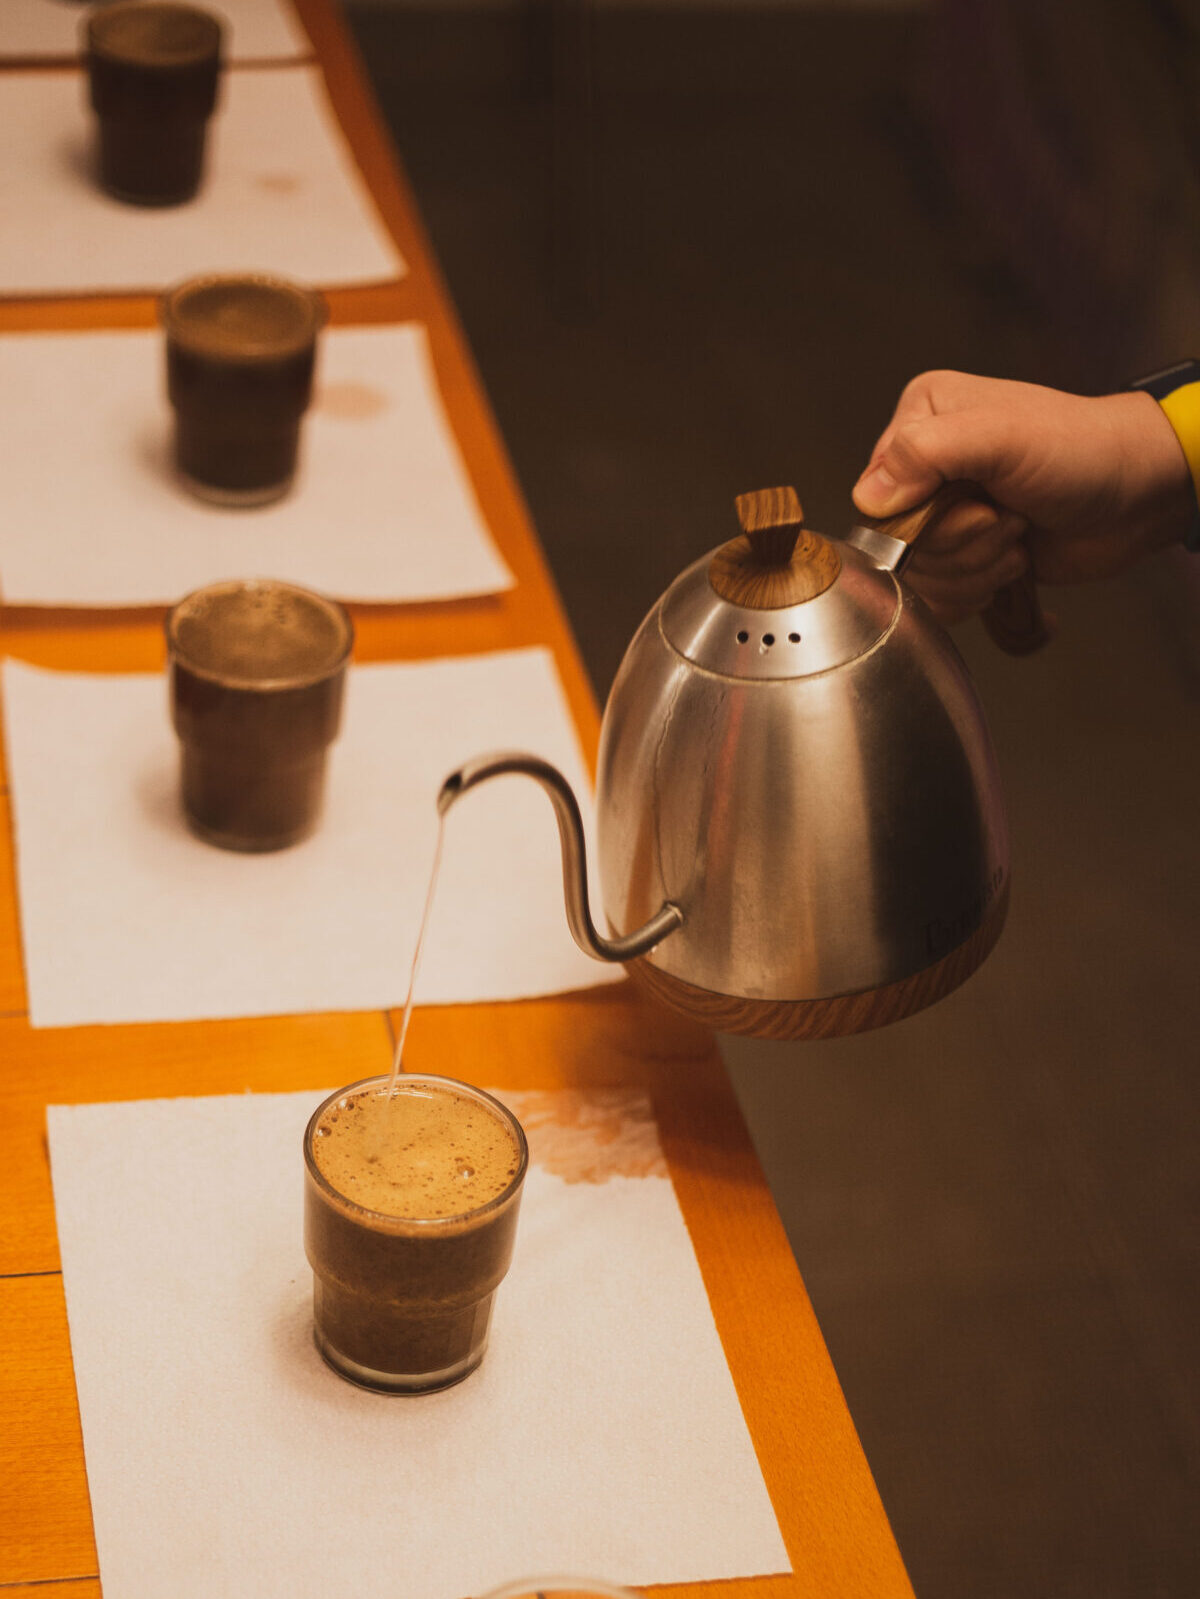
Start the timer and begin pouring the water on the first coffee, working down the line and pouring the water always in the same style. Fill each with a 17:1 ratio of water to coffee. Note that if you have a lot of coffees, one kettle of water won’t be enough, so be prepared to ask someone to heat up some extra water as you start pouring.
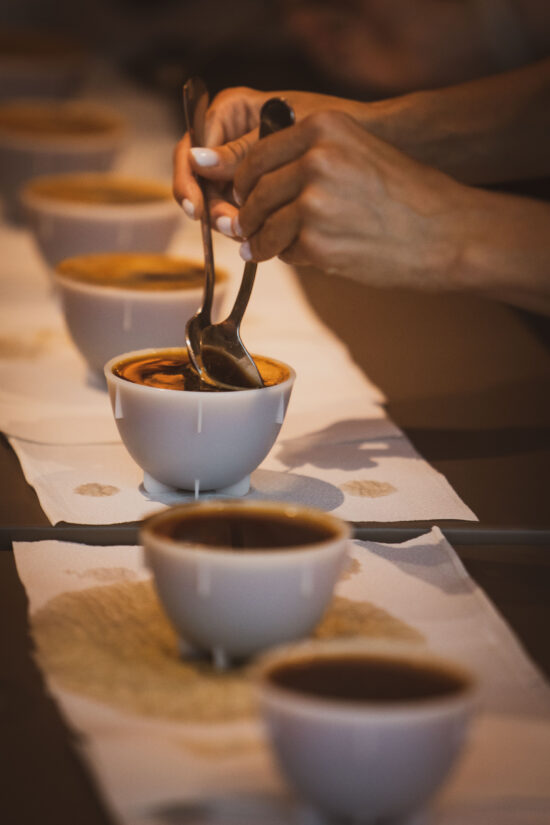
Breaking the Crust
When the timer reaches four minutes, break the crust on top of the cups with the back of a spoon: when the crust breaks, the coffee will release gasses. Don’t forget to smell, trying to catch some aromas. Then, using a second spoon, remove the crust. Do the same for each coffee, following the line.
Tasting
When the timer reaches 10 minutes, it’s finally time to start tasting. Take a spoonful of the first coffee and slurp quickly: This will help to better spread the coffee throughout your mouth, so you can taste more aromas and flavors. Repeat for all cups following the line, remembering to rinse the spoon after each tasting.
Taste each coffee several times until it cools down; this way you’ll be able to notice how a coffee differs when it cools down. Along the way, remember to always keep yourself hydrated by drinking enough water. And if the coffee starts to be too much, don’t be ashamed to use a spitting cup to spit after tasting.
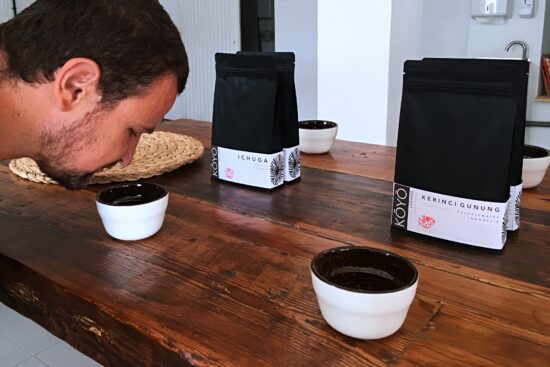
Savor the Flavors
What should you be looking for? Start with the basic characteristics: acidity, bitterness, and sweetness. Think about the body: Is it thin? Does it have a velvety mouthfeel? Consider the roasting and the aftertaste. (Does it linger? Is it bitter or sweet?)
Along the way, start to note any flavor you may recognize: Having one of the many versions of the Flavor Wheel at hand, easily available online like the one proposed by Counter Culture Coffee, can really help.
Just start from the center, and try to categorize any flavor you can taste. Is it something that reminds you of chocolate? Or maybe more of some kind of fruit?
Then, after you’ve figured out a macro category, try to get more specific. Maybe the fruity flavor you discovered really tastes like tropical fruit. Could it be mango? Or maybe coconut?
And so on.
This is just a basic cupping procedure—perfect for spending a couple of hours with friends and family having fun and learning about coffee—but there are many different ways to “upgrade” the cupping experience.
Some Variations
Try two cups of each coffee, to compare them, and see if they differ in some way. Or try a blind cupping (where you don’t know which coffee you’re tasting because you’ve mixed the cups on the table). This can be a fun way to dig deeper into tastes as you try to guess which coffee is which.
Another option: Try the professional method, tasting the coffees while filling out a tasting form. Use a flavor profile form or the official SCAA form; there are many different versions that can help you put your thoughts in order, giving you a clearer idea of what you’re cupping.
The more you cup, the more you’ll learn. But don’t forget that what you’re doing is not a competition, just a nice way to learn more about coffee, and of course, have fun with friends!
ABOUT THE AUTHOR
Tanya Nanetti (she/her) is a specialty-coffee barista, a traveler, and a dreamer. When she’s not behind the coffee machine (or visiting some hidden corner of the world), she’s busy writing for Coffee Insurrection, a website about specialty coffee that she’s creating along with her boyfriend.


