The versatile and compact brewing device allows users to employ many innovative brewing methods.
BY TANYA NANETTI
SENIOR ONLINE CONTRIBUTOR
Photos by Tanya Nanetti
The AeroPress is something quite unique among all other brewers.
Designed not by your average coffee geek, but by an inventor and former engineering instructor at Stanford University, its story began back in 1984, with the foundation of Aerobie, Inc., a manufacturer of high-performance sport toys.
After creating the famous Aerobie Pro flying ring, Alan Adler decided it was time to invent something new: a simple and fun-to-use coffee brewer, perfect to brew a better cup of coffee.
The AeroPress launched in 2005, and in less than two decades it has become one of the favorite coffee brewers around, perfect both for travel and indoor, for any home barista or professional coffee shop.
Its main feature is its versatility: hot and cold drinks, short espresso-like coffees or long filters, inverted, regular, diluted—basically everything can be brewed with AeroPress.
Here is just a short list of five completely different AeroPress techniques that can help you find your favorite recipe … play around with them, and heck, you may even win your next local AeroPress competition!
Regular
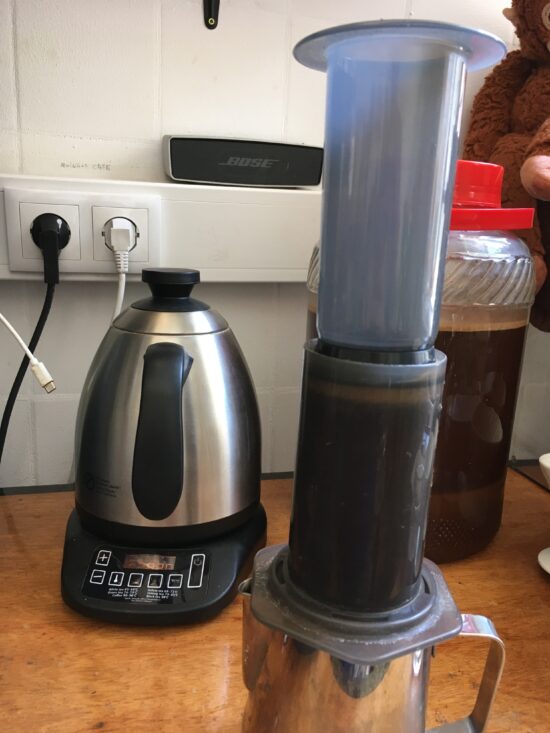
This is basically what Alan had in mind when he developed the AeroPress.
Insert the filter in the AeroPress, rinse it, and put it on top of a sturdy mug (or your vessel of choice); add medium-coarse coffee and water, stir, and close with the plunger, creating a vacuum.
After an average time of 2 minutes, press gently, and you’ll have a delicious cup of coffee ready with no frills.
Perfect as a starting point for exploring the AeroPress’ potential, this recipe can be adapted to brew different types of coffee, from a concentrated short drink to a full cup of something similar to a “filter” coffee.
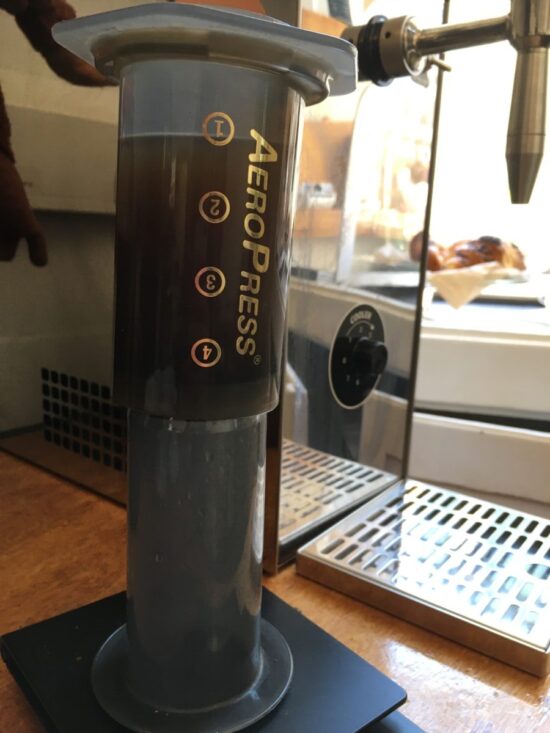
Inverted
Probably born from the continuous quest for the perfect—and replicable—cup of coffee, the greatest advantage of the inverted method is the high degree of technical control it can give.
Turbulence, stirring, and agitation can be regulated; the unavoidable leaking that occurs with the regular method here is completely avoided; and accurate brew ratios can be maintained.
And, let’s face it, when the barista boldly flips the AeroPress on top of the brewer, it all looks pretty rad.
But of course this “act of bravery” also has some downsides, starting from the high risk of messiness that can happen during the flip: Also, the plunger can blow out, the coffee can spill … and the whole brew can be wasted in a simple moment.
Concentrate
Imagine the situation: You’re camping and want to brew a delicious cup of coffee for you and your buddy, but you only brought your AeroPress with you: Will one brew be enough for two?
With the dilution method, you prepare a concentrate that, once the brew is complete, you’ll dilute by adding more hot water. Many different recipes for this method have been shared, but what they all have in common is a decidedly high ratio (something like 1:7).
Just boil 500g of water and grind 36g of coffee at a medium-coarse grind; assemble the AeroPress (Inverted style), pour the grounds, and fill with hot water.
Stir, rest, and flip.
At this point you’ll have something like 215ml of coffee: Dilute it with the same amount of hot water, and you’ll have a total of two cups of brewed coffee, with similar strength and flavor to your classic inverted brew.
The Longer Brew
Thanks to Jonathan Gagné and his scientific coffee page Coffee ad Astra, a completely new take on the regular AeroPress recipe was introduced last year.
Just start as a regular brew, with 18g of coffee (preferably light roast) and 260g of water at 100°C, stir well with a back-and-forth motion, place the plunger, and—after a swirl when the timer reaches 5 minutes—let it steep for 9 minutes in total, and then press gently.
The resulting coffee, perfect for those who want a coffee with a higher extraction (and obviously for those not in a hurry), will have a fuller flavor profile and a percentage of extraction similar to that of a well-prepared pourover or a coffee prepared in a cupping.
NoPress AeroPress
What if you desperately want to have a pourover, but you were only able to squeeze your AeroPress into the travel bag?
Then the so-called “NoPress AeroPress” recipe is the right one for you: a totally “weird” take on the AeroPress that uses it without the plunger, totally skipping the pressing part.
Existing online for some time, the recipe became more mainstream last year thanks to The Real Sprometheus, coffee trainer and YouTuber.
While it may be hard to believe, the AeroPress works quite well as a dripper: it easily allows you to have a flat coffee bed, produces almost no bypass (basically, the unwanted water that skips the filter and goes directly into the brew), and its high vertical walls are perfect for soaking all the coffee at the same time.
Just grind 15g of coffee medium coarse, drop it into the chamber already prepared with its filter, add 240g of water straight into the chamber, give it a good swirl, and let it drip.
After a long extraction (even more than 5 minutes), you’ll have a clean but complex final cup, with a rich aroma.
And the fun doesn’t stop there: Thanks to the many coffee geeks out there, the AeroPress “experience” can be enriched with the help of many different upgrades.
From the PuckPuckDrive (to brew the perfect cold drip) to the Fellow Prismo and Joepresso filters (to have your short-espresso-like drink always with you), from metal filters to the 2Pour Dual Press (to basically split the brew in two cups), there’s always a new way to brew with your AeroPress.
ABOUT THE AUTHOR
Tanya Nanetti (she/her) is a specialty-coffee barista, a traveler, and a dreamer. When she’s not behind the coffee machine (or visiting some hidden corner of the world), she’s busy writing for Coffee Insurrection, a website about specialty coffee that she’s creating along with her boyfriend.


