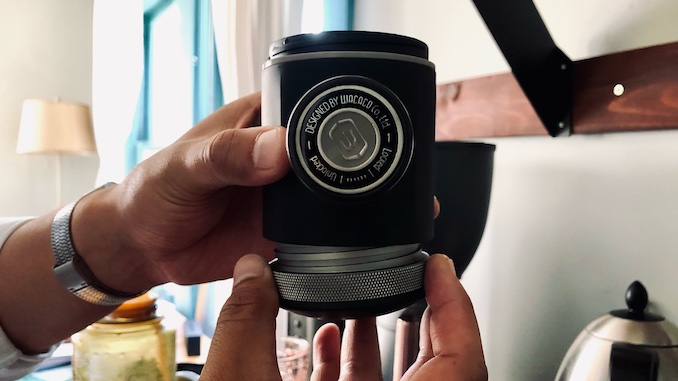
The Picopresso portable espresso device builds a syrupy shot with manual pressure.
BY KATRINA YENTCH
BARISTA MAGAZINE ONLINE
Photos courtesy of Katrina Yentch
When Wacaco first popped up on my radar, I had received their Minipresso GR product as a birthday present in 2018, and I’ll admit I didn’t give it much thought. I wasn’t a huge fan of espresso to begin with, and doubtful of any kind of espresso device that wasn’t a commercial machine.
Just a few years later, we’ve legitimized manual pressure as a completely valid method to getting great-tasting espresso. Several coffee technology brands have developed cutting-edge espresso equipment that makes it more affordable for home consumers to have a decent shot of espresso.
Gear like the Cafelat Robot and Nespresso have shown us that espresso-grade pressure can easily be achieved without the assistance of a heavy-duty boiler. Wacaco has also released a solid line of sleek-looking portable coffee products overtime, and their latest Picopresso proves to be one of their highest-quality hand espresso brewers yet.
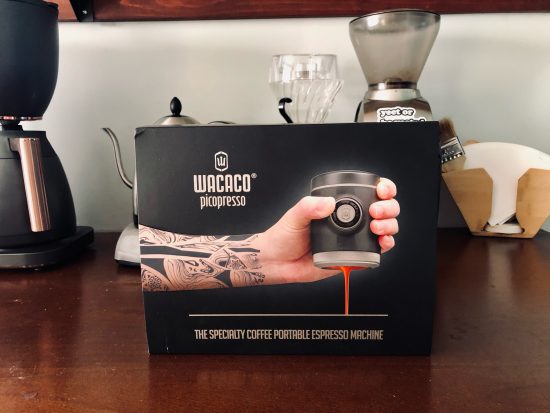
Meet the Picopresso
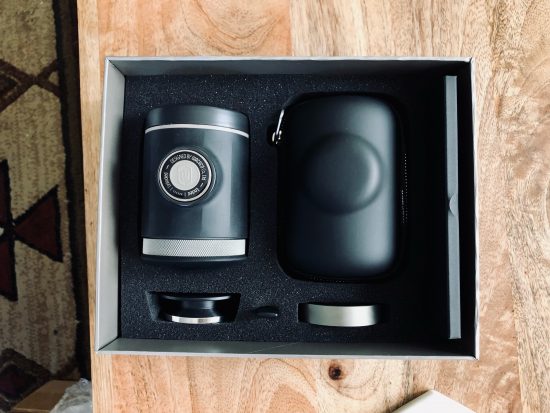
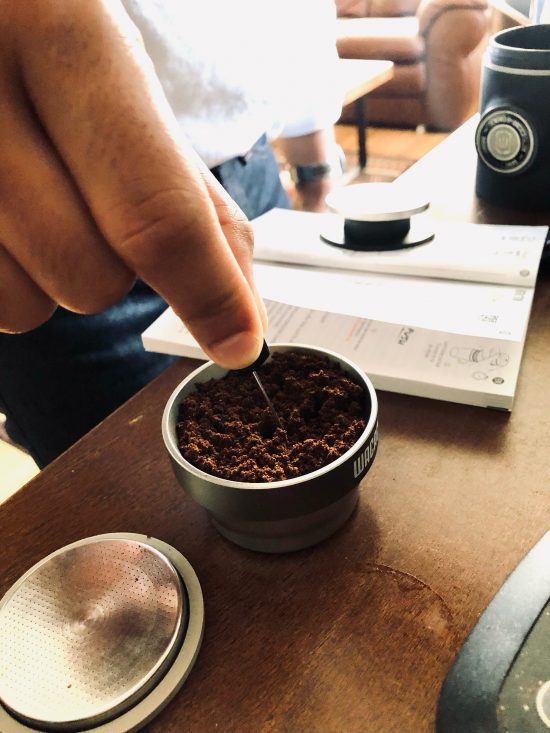
The Picopresso is a barista-oriented hand espresso brewer that is designed to be a compact “on-the-go” device for the savvy coffee guru. It builds from the design of the original Minipresso GR from 2014, claiming to be one of the first companies to introduce the concept of a single-hand powered piston to brew ’spro. With more testing has come a device that Wacaco claims can achieve a maximum pressure of 261 PSI / 18 bars. To make the Picopresso more barista-geared, it comes with additions that the Minipresso did not—more specifically a tamp, a funnel, a grounds distribution tool, a brush, a showerhead, and a double filter basket.
Opening the Picopresso Box
My first impressions upon receiving the Picopresso was that it is incredibly well-made. Call me strange, but I was really digging the smell of the box upon opening it. I would compare it to “new car smell.” It comes with a tightly fitted carrying case, similar to those that hold musical instruments. The product itself is incredibly sturdy with well-made accessories.
I think the biggest difference between the Minipresso and the Picopresso is that there is generally a lot more metal in the build of the Pico versus plastic in the mini. The only part that was plastic was the piston itself, which I may presume is such so that it isn’t too hot to press.
That being said, it probably wouldn’t be something I would take on a backpacking trip when I’m trying to go light. But I can still easily toss it in my camping tub of gear, or in a suitcase en route to somewhere with bad coffee (sorry, but it still happens!).
Although I know the Picopresso is supposed to be more barista-savvy, I’ll admit it was a little overwhelming to take out all the accessories at first, given that there are at least six more items than the Minipresso. Impressive that such a small device can hold this many things, but if you’re THAT person who is always losing their belongings, you may have to include a small checklist with this one. However, they all proved to be pretty useful to creating a shot with the espresso maker. The only thing I ended up not really using was the scoop it came with.
How to Brew With Picopresso
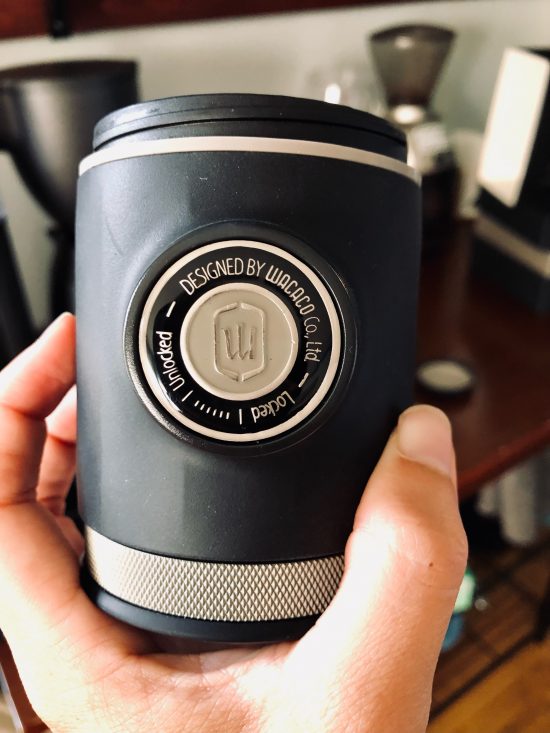
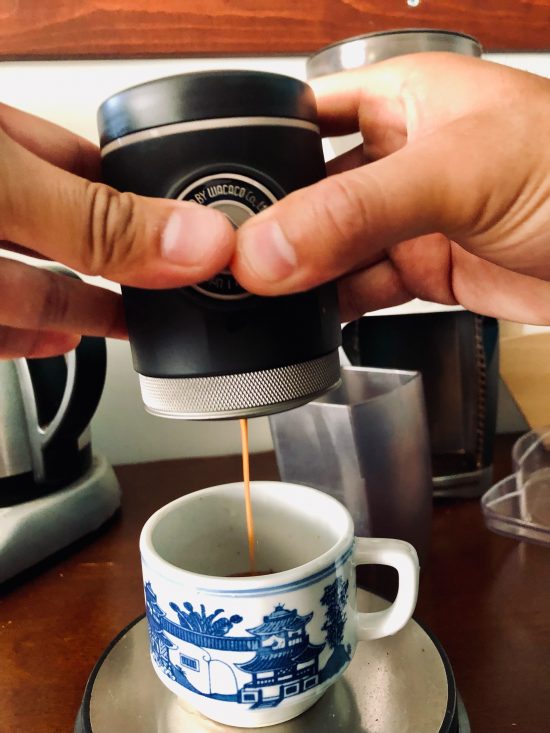
In order to operate the device, after unscrewing the bottom and top parts, pour water into the top of the chamber and seal the top. Grind and dose coffee into the provided double filter basket, insert it into the portafilter, and screw the whole bottom piece back onto the chamber. With the piston level in the middle, press into it for eight strokes, then wait 10 seconds for a pre-infusion. Then, resume pumping until your output has been achieved.
Brewing the Shot
In the instructions provided, Wacaco suggests a 1:2 ratio to brew on the Picopresso, just like most espresso ratios. Hence, they suggested using 18 grams to 36 out—and the best part about this is that you don’t have to calculate the water amount in the brewer to achieve that! After filling the Picopresso to the top with water, I still managed to get 36 grams of espresso out without running out of water, or using too much.
I’ll admit, the instructions also seemed a little overwhelming on the first try—there are 23 steps. However, the second try proved to feel much more intuitive as a former barista. I actually ended up really enjoying using all the small parts that I thought were too much at first, like the distribution tool and the funnel. These pieces, combined with the sturdy metal tamp, set the stage for a really level shot.
Here’s one mistake I made that you definitely shouldn’t, and it’s definitely one of the 23 instructions provided—take off that portafilter cover! The device created so much pressure that with nowhere to escape, it leaked out the side and all over my clothes. That’s what I get for skipping part of the directions!
The Taste With Picopresso
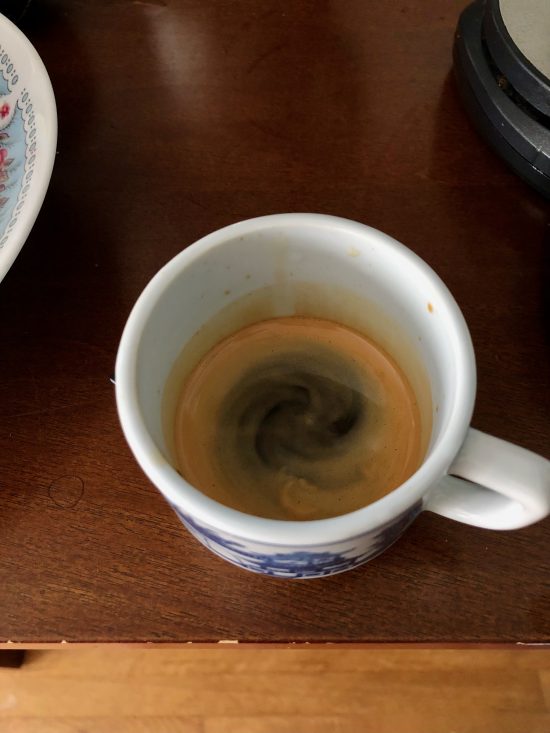
So after giving it another go, I ended up with a creamy, syrupy espresso brewed with a nice rich Nicaraguan coffee. It definitely had the heavy body that a commercial espresso machine would brew, and the crema was seriously impressive.
Picopresso: Final Thoughts
I was really happy with the Picopresso. It feels like a truly thoughtfully designed item, which is validated by the fact that its “older brother” is a testament to the changes and improvements that the Picopresso comes with. I would only say that the challenge is having a fine enough grind on your hand grinder if you decide to take this device out of your home coffee station. My solution for these kinds of issues is to simply pre-weigh and pre-grind your coffee. Then, put that in an airtight container!

